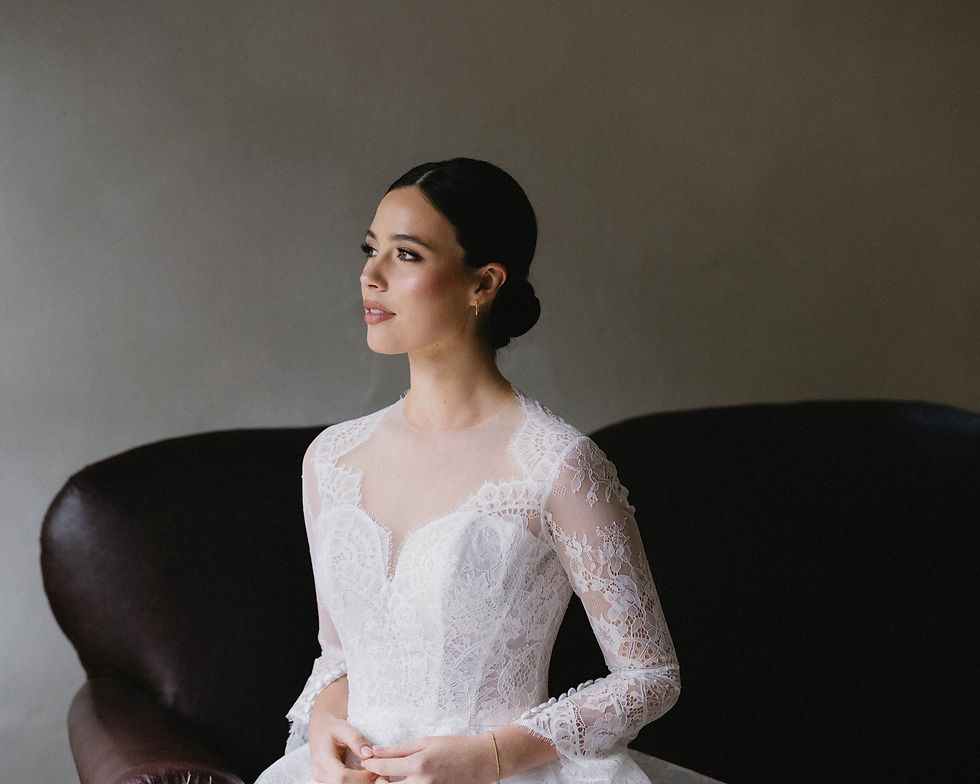
Easiest Brown Smokey Eye Makeup Tutorial Ever
- Kitzie Nuñeza
- May 17, 2022
- 4 min read
A smokey eye is a popular makeup technique that's used to create an alluring, smoldering look. It's characterized by dark eyeshadow shades, usually in the range of browns and blacks. For many women, this style is an easy way to experiment with bold makeup without having to go full-on with your look.
A brown smokey eye can be applied in a variety of ways: you can apply the dark shades around your entire eye area (also known as a "smokey lid"), just under your eyebrow line ("Asian" or "soft" looks), or even blend them into your crease ("cat eyes"). If you want even more versatility out of this look, try using complementary colors like golds or purples instead!

Prep your lids with an eyeshadow primer.
The importance of prepping the lids for this look is that it helps the eyeshadows stay on longer, and also creates a smooth surface for you to apply them on. Apply two coats of primer before applying any color with your brush (you can use your finger to pat it on). Make sure that you apply it evenly so you don't end up having unevenly pigmented eyeshadows where one side is darker than the other.
Apply a light shadow from lash to brow.
To start, apply a light shadow from lash to brow. Use a small, flat brush for this and apply in gentle strokes, blending as you go. Next, take the same shade of shadow and apply it under your lower lash line in the same way. This will make your eyes look more open and awake with minimal effort on your part!
Use your middle-toned shade on your lid and in the crease, and blend like crazy.
Start by applying your middle-toned shade all over the lid and in the crease with a soft, tapered brush. Then blend like crazy with a windshield wiper motion, focusing on the transition between your lid color and crease color. This will help you create a seamless gradient effect that's not so harsh—a lot of people have difficulty blending their eyeshadow because they just swipe it across their lids and call it good; if you want to avoid this mistake, make sure to focus on blending specifically at the edges of your eyeshadow colors. Finally, use a fluffy brush to buff out any harsh lines or edges for an all-over diffused finish!
Next, blend the line between light and medium shades so there are no harsh lines.
Now, you’ll use your blending brush to blend the line between light and medium shades so there are no harsh lines. Begin by applying a pat of powder to soften any excess shadow that may have gotten on your eyelid, then take your blending brush and hold it vertically against your eye socket as if you were swiping through your hair. Start at the inner corner of each eye and sweep out toward the outer corner, moving upward toward the brow bone as you go. Repeat until all visible lines are gone—this will make it easy to see exactly where they are so that they can be covered up with eyeshadow later!
Create a wing in your inner corner to add length to your eye with the same shade you used on your lid.
To create a wing at the inner corner of your eye, use a small brush to apply shadow to the area. Then use a flat brush to blend out the edges so that you don't have any harsh lines. Warm up your eye look with a lighter shade on your brow bone for definition. Blend out the line between this highlight and the darkness of your outer corner for an overall seamless effect. Add more depth by using a darker shade in your outer corner, which will also add dimension and make it easier to achieve smokey eyes without looking like you have black eyeshadow all over!
Apply the darkest shade as an eyeliner along your lashes, and blend it up into the crease for extra smokiness.
Apply the darkest shade as an eyeliner along your lashes, and blend it up into the crease for extra smokiness. Use a pencil brush or smudger brush to apply shadow along the lashline. Blend up into the crease with a clean, fluffy crease brush until all harsh lines are gone. If you want more depth and dimension, add more shadow to the lashline if needed.
Clean up the wing shape in your inner corner if needed.
If you’re not happy with how your wing looks, use a q-tip to clean up the shape of your wing. You can also use a concealer brush to blend the edges of your wing, or if you want to soften things up, even more, use a makeup remover wipe to clean up any mistakes.
Add even more dark color along the waterline of your eyes & prolong it with a little eye pencil or liquid liner if needed.
At this point, you should have all of the brown shades in place. If any of it has gotten into your eyes, use an eye makeup remover to wash them out. Once that's done, add even more dark color along the waterline of your eyes & prolong it with a little eye pencil or liquid liner if needed. This will give you a more dramatic look and make everything blend together better.
If you want to create some definition between your lash line and lid color, use a smudger brush (a small flat brush) to blend the eyeliner inward towards the crease of where your brow meets your lid—this will help define said area without making it seem unnatural. Also, if you're feeling adventurous, try using liquid liner instead! Just be careful not to get any in the corners because it can make them appear smaller than they actually are. And lastly for those who love their cat eyes: If using pencil liners doesn't work for whatever reason (liquid/gel liners tend to be easier), then try using waterproof ones instead for long-lasting results throughout all-day wearability.
Now you know how to do a brown smokey eye! All you need are 3 shadows, mascara, eyeliner, and some blending brushes. The end result is beautiful. You can customize this look by choosing lighter or darker browns for each shadow or adding more shimmer or less shimmer. The options are endless!


Comments